Be Your Own Photographer: Taking Passport Photos at Home
Photos for a visa application, foreign passport, or electronic application can be taken yourself. No kidding! It's quite real if you follow certain rules and recommendations. Learn once, then save constantly. We've put together a simple guide on how to take a passport photo at home.

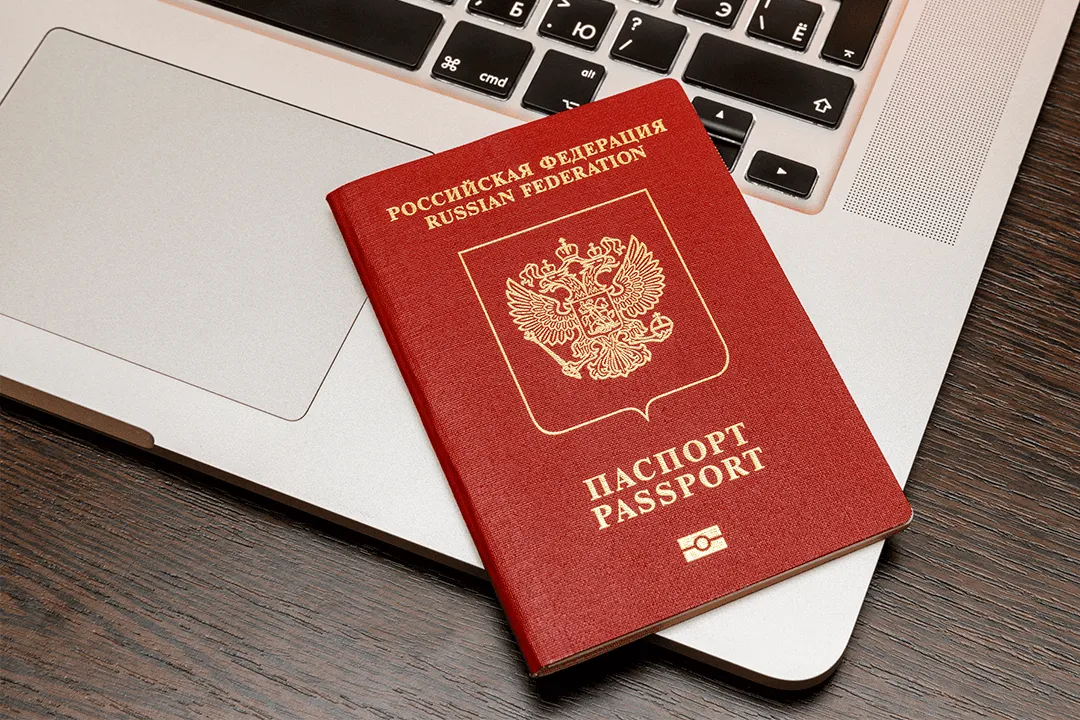
Study the Requirements
As many documents, so many rules. Some for a passport, others for an application. For example, a photo for an electronic application on Gosuslugi is only needed for a personal file, while a photo for a biometric passport is taken at the Ministry of Internal Affairs department. Therefore, the requirements for such a home photo are easily achievable.
- Neutral facial expression, closed mouth, open eyes.
- Glasses can be kept on if they do not cover the eyes and do not create glare.
- Plain white background without foreign objects.
- Even lighting without shadows on the face.
- Headwear is usually prohibited, with the exception of religious headwear.
- The photo must be clear, without blurriness or pixelation.
The most common document photo format is 35x45 mm. It is used for the Russian passport, biometric foreign passport, and application for a Schengen visa.

Prepare for the Shoot
Location: find a spot in your home with good natural light. Ideally by a window, but not in direct sunlight. Ensure a plain background: you can use a white sheet hung on a wall or door. Make sure the fabric is smooth and wrinkle-free.
Lighting: ideally, natural light from a window. If natural light is insufficient, use an additional light source (e.g., a desk lamp or flash) to evenly illuminate your face. Make sure there are no harsh shadows.
When taking a passport photo at home, prioritize natural light. If you stand facing a window on a slightly cloudy day, early morning, or late evening, you'll get soft, diffused light that minimizes harsh shadows and glare.
Camera: a digital camera or any modern smartphone with a good camera will work. It's best not to enable portrait mode on an iPhone, as it will blur the background, along with any stray hairs. You should also disable any portrait enhancement features – a passport photo must reflect reality, without filters.
It is recommended to use a tripod. It will make it easier to achieve the correct shooting angle and stable camera position. If you want to retake the shot, the phone will already be set at the right height. Plus, you can take a photo without anyone's help. The lens should be at eye level, and the shooting distance should be longer: this way, your face won't appear strangely elongated, without perspective distortions.

It is best to take document photos in dark-colored clothing (to create contrast with a light background), preferably without bright patterns or colors. Casual style or business classic is optimal, without “loud” items or jewelry. A shirt and T-shirt are suitable, but a thin-strapped top is better saved for another occasion: shoulders must be covered in the photo. Conversely, scarves covering part of the chin are unacceptable.
Lenses: those for vision remain. Lenses that change natural eye color must be removed.
Rehearse: stand in front of a mirror and try to achieve the desired facial expression. Try to remember the position of your lips, muscle tension, shoulder line, and head tilt, so you can reproduce it all in the photo.
- Tidy yourself up.
- Make sure your hair doesn't cover your face.
- If you wear glasses, make sure they are clean and don't create glare.
- Do not use bright makeup.
Take the Photo
Stand about 1-1.5 meters from the background, and ask someone to take your picture or use a tripod and timer.
A document photo is a purely utilitarian thing. So don't smile or pose, look straight into the camera, keep your head straight, and straighten your shoulders.
It's better to take several shots with different angles and facial expressions, then choose the best one.
Tip: use your phone's main camera, not the front-facing one, when taking a passport photo to ensure higher image quality, better detail, and compliance with official requirements.

Process the Photos
What's great about the modern world is the prevalence of technology. The phone in your hand can correctly crop the shot, adjust exposure and contrast. But you shouldn't get too carried away with retouching: you can remove a pimple on your face, but not a mole, scar, or freckles.
Crop the photo using a graphic editor (e.g., Photoshop, GIMP, smartphone functionality, or online editors) to crop the photo to the required size (in accordance with passport requirements). Choose a predefined aspect ratio, such as 3:4, to better fit the photo to the specified parameters.
Adjust brightness and contrast so that the photo is clear and well-lit.
Make sure the photo meets all passport photo requirements.
Taking a passport photo at home is convenient and saves money. By following the tips and recommendations above, you can take the perfect passport photo and easily submit your application!